How To Store Homemade Dog Treats
It can be a bit of a mind-shift when it comes to learning how to store homemade dog treats, rather than commercial store-bought treats.
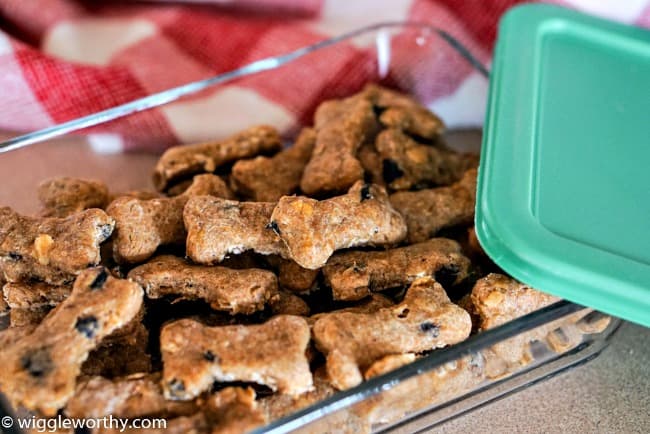
One of the things I LOVE about making my own dog treats is that I can control what goes into them, and there are only healthy, nutritious, natural ingredients in all the dog treat recipes on this site.
This means you won't find any chemicals or artificial preservatives, which is really good news for our dogs, but it does mean that those goodies you created with love won't be okay sitting around on the kitchen counter or in the pantry for weeks.
Luckily, there are a few simple tips that will help you to keep your DIY dog treats fresh for days, weeks, even months. Honestly, in my house a batch of treats is usually eaten long before they have a chance to go bad, but I have two large dogs and an extended family of doggie grand-kids all eager to play their part in eating my creations!
The most important things that affect homemade dog treat storage include:
- Cooling time (after baking)
- Ingredients
- Storage location
- Where you live
- Best storage containers for dog treats
Cool Treats COMPLETELY Before Storing
At the end of every recipe on my site you'll see the instruction to 'allow to cool completely'. That little sentence is hugely important when it comes to how well, and how long, you can store homemade dog treats.
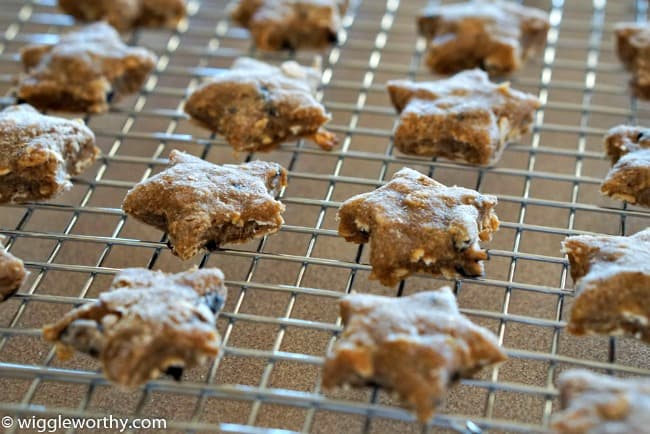
Even the tiniest bit of residual warmth in your treats will cause condensation if they're put into a container or bag. This will make the treats damp - spoiling the crunchiness (if they're crunchy treats) and causing them to go bad much more quickly.
Always allow your treats to cool, preferably on a wire cooling rack where the air can circulate freely around them, for at least three hours (longer for large or thick treats), before putting them into storage containers.
Ingredients & Dog Treat Storage
The ingredients in a specific dog treat recipe have a big impact on where you should store the treats, and how long they'll stay fresh.
Recipes which include fruits and/or vegetables tend to stay softer, even once they're completely cool. Treats like this, or soft dog treats in general, will have a shorter lifespan.
You can probably keep crunchy treats wrapped loosely in a tea towel or muslin cloth (to prevent them getting too soggy) in your larder for a few days, but after that they must go into the refrigerator. As a rule of thumb, you can use an airtight container in the fridge to keep treats like this fresh for one to two weeks maximum.
Softer treats must be stored in an airtight container in the refrigerator, and
Always look at the treat you're about to give your dog before you pop it in his mouth. If it looks at all suspect (soggy, discolored, moldy), don't feed it to him and throw the remainder out.
Dog treats which contain meat/fish or a meat-based broth or bouillon should be stored in the refrigerator as soon as they're completely cool. Use an airtight container and they should be good for around five days that way.
I've found that treats made with gluten free flour (especially if the recipe also contains fruit/vegetables) tend to stay soft and don't store as well, or for as long, as those using wholegrain flour. Keep gluten free treats in an airtight container in your refrigerator for up to a week (depending on individual recipe) and inspect them regularly to make sure they're not going soggy, or showing any signs of going bad.
If you've used butter or margarine in a dog treat recipe, those treats are likely to spoil a little faster and should be refrigerated.
There are natural preservatives you can use to make your homemade treats last longer. Vitamin C and vitamin E are the most common. You can also buy mold inhibitors (these are great for gummy dog treat recipes because these treats tend to keep for very short periods) to use in your recipes but I personally don't think these are necessary unless you're baking treats for commercial reasons and need them to be stable/fresh for longer periods.
If you're simply making up a batch of treats for your dog/s, the chances are they're either going to be gobbled up before they have a chance to spoil, or your refrigerator will do the job.
Dry, crunchy treats store well
In general, the drier and crunchier the treat the better it will store and the longer it will stay fresh.
For most treat recipes you can increase the crunch-factor by drying them out a bit more at the end of their recommended baking time.
If I want to do this I turn off the oven, open the door a crack, and leave the treats inside while the oven cools. My oven takes about 30 minutes to cool down this way and that's enough time to crisp up most treats.
Alternatively, when the timer goes off to signal your treats are ready you can turn the oven down to a low temperature (around 150 - 200F) and continue baking your treats for another twenty minutes or so.
Dry treats (that don't contain meat or fish) can usually be kept in an airtight container in the larder for a week . In the refrigerator for up to two weeks.
Finally, you can always opt for frozen dog treats which last a LONG time in your freezer.
These are a great option for hot summer days, but you can offer them at any time of year. An added bonus is that frozen treats usually only contain two or three ingredients and are a snap to make.
Best Place to Store Homemade Dog Treats?
For the majority of homemade dog treat recipes, for the majority of the time, the best storage option is an airtight container in your refrigerator.
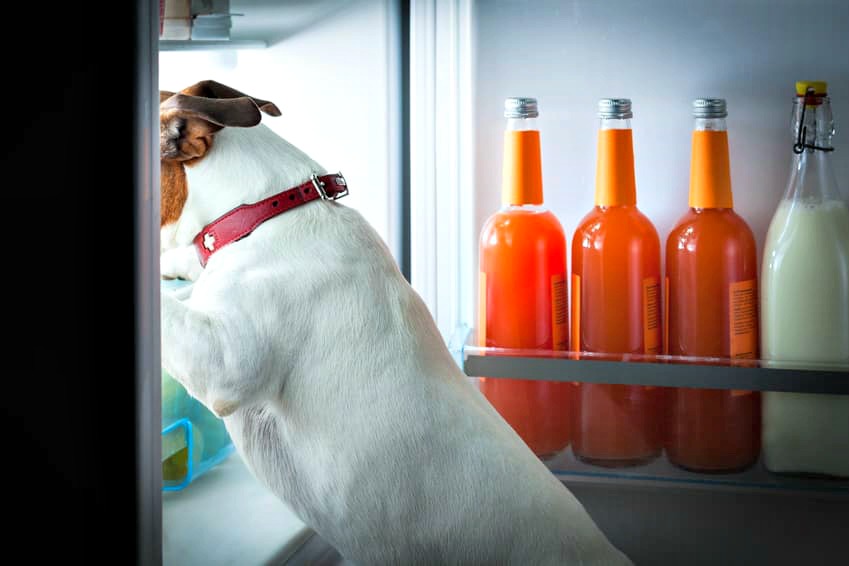
This way your creations will stay fresh for longer, saving you money (less waste) and eliminating any worries about treats which may have gone 'off'.
There are lots of reasons why you might want to keep your dog treats for longer than a week or so (for example - your dog can't/shouldn't eat them all that quickly, or you want to make a big batch so you don't have to go through the process again in a week). For longer term storage the best thing to do is to pop the treats into your freezer.
Obviously make sure they're either in an airtight container, or are wrapped tightly in foil, so that they don't get freezer burn. Stored this way most homemade dog treats are good for several months.
Using a vacuum sealer is also a great way to extend the storage life of all sorts of dog treats. Popping vacuum sealed bags filled with treats into your freezer can keep them fresh for up to a year.
Depending on the treat you can either defrost treats completely before offering them to your dog, or give them to him while frozen. Big and/or thick treats are best defrosted first, thinner ones are often enjoyed frozen as they're super crunchy. However, frozen treats don't taste as good as thawed ones do!
You can also freeze uncooked dog treat dough and defrost it to make more treats later on. Why not make up a double-batch of dough to save yourself prep work next time? Or maybe divide a regular recipe in half if your dog is tiny, or you're only offering treats occasionally.
Always double-wrap uncooked dough before freezing it and defrost it thoroughly in the refrigerator before using.
Making frozen dog treats or dehydrated dog treats is a great way to make sure you always have some tasty goodies on hand, because they stay fresh for extended periods of time.
Where You Live Can Matter
This is the last, and least important factor when it comes to how you store your homemade dog treats, but it can still play a role. So can seasonally changing temperatures.
Perhaps you live somewhere that's very hot, but your A/C is super-efficient and you like to keep your home temperature at around 65F (brrrr!). In this situation treats which are normally okay to store in the larder for a few days will be just fine.

But what if your A/C isn't that great, or perhaps you don't have A/C and there's a heat-wave, in these cases you need to put your treats into the refrigerator because they'll spoil faster than normal in a warm environment. If it's also humid, that's even worse for them.
Of course, if you live somewhere cold (or it's the middle of winter) and your heating is keeping your house at a toasty 75F at all times, then treats are still better off in the fridge!
Finally, light can also play a role in treat storage because bright sunlight is going to make those goodies spoil faster than they would otherwise. This is why keeping your treats in an airtight container in the larder or pantry (which is naturally dark most of the time) is the best option outside of the refrigerator.
What is the shelf life of homemade dog treats?
All the information on this page will help you answer this question. There are clearly lots of variables which can affect shelf life of homemade dog treats, including ingredients, method, environment etc.
Homemade dog treats should always be kept in an airtight container or use a vacuum-sealer for longer term freezer storage.
Here's a quick overview that simplifies it all, but remember to include the information given to adjust for individual and specific recipes.
Baked Dog Treats
Dry, baked, homemade dog treats have the longest shelf life... up to one week in the larder and up to two weeks in the refrigerator, and the crispier/crunchier your baked treats are, the longer they'll stay fresh.
Recipes that don't contain meat, fish or cheese can be stored in airtight container in the larder for up to a week, and in the refrigerator for up to two weeks.
If the treats contain meat, fish or cheese should ALWAYS be stored in the refrigerator or freezer, no matter how crunchy they are. They should be good for around five days in the refrigerator.
Soft, baked homemade dog treats store relatively well... generally staying fresh for up to five days in the refrigerator.
Soft baked treats should always be kept in the refrigerator or freezer. Meat, fish, cheese, fruits and vegetables can all make treats softer, although extra baking time, or putting them in a dehydrator after they're finished baking, can dry them out.
Keep these kinds of treats in an airtight for five to seven days. Check them for any signs they've gone 'off' before giving them to your dog.
Gummy Dog Treats
Homemade gummy dog treats stay fresh in an airtight container in the refrigerator for up to five days. If you want to keep them longer than that you'll need to freeze them.
They will stay fresh for several months in the freezer but they don't defrost very well, so feeding frozen gummy treats is the way we do it in our house!
Dehydrated Dog Treats
Dehydrated dog treats have the longest shelf life of all and can stay fresh for several weeks in the larder.
This is because the dehydration process removes all the moisture from whatever it is you're working with.
However, dehydrated meat still has a shelf life of up to three weeks or so in the larder. It's not advisable to keep dehydrated treats in the refrigerator as that adds moisture.
You can put them in an airtight container and keep them in the freezer for up to three months.
Best Storage Containers for Homemade Dog Treats
What type of container you use to store those treats you made with such loving care, depends on what type of treats they are and where you need to store them.
For countertop storage a glass, ceramic or stainless steel jar works well, as long as it seals air-tight. You'll also probably want it to look good and match your decor.
Luckily there are lots of different sizes, styles, designs and so on to choose from including this cute ceramic doggie-themed storage container or this whimsical and colorful one, or these attractive glass containers with airtight bamboo lids, The variations are endless so there's something for everyone.
One tip if you're buying online, is to make sure you check the SIZE of the container before you hand over your money. I've been unpleasantly surprised before, which was totally my fault for NOT checking dimensions!
If your homemade dog treats need to be stored in the refrigerator, a truly airtight, BPA-free plastic, refrigerator safe container is a good choice, and again there are lots of different options to choose from.
The Brilliance by Rubbermaid containers are very versatile, as well as being top-notch functionally. BPA-free, dishwasher, refrigerator AND freezer-safe, stackable, not to mention being nice enough to leave out on the countertops. Win-win.
For treats that need to be stored in the freezer you can use something as simple as a sturdy freezer bag, or choose any freezer-safe containers you like.
For the freezer I'd suggest making sure you can clearly SEE what's in the container and labeling it with description and date.
You Might Also Like These pages...
- Home
- How to Store Homemade Dog Treats


